Achieving neutral buoyancy is probably THE most important skill a diver can master. You learn neutral buoyancy skills during your entry level course such as PADI Open Water Diver but you shouldn't stop learning there! Buoyancy skills can get rusty over time, and improving them will help you move more gracefully through the water, use less effort while swimming around which ultimately is going to improve your air consumption, and you will be less likely to make contact with the bottom. All-round, winning!
Here we're going to look at three neutral buoyancy skills and give you some tips for mastering them. Don't forget to check out our previous post about buoyancy checks and the general terminology, in case you missed it. Our next buoyancy post will include tips for some more advanced skills.
Making a descent with neutral buoyancy (a neutral descent) means that you sink slowly and in control, without plummeting to the bottom.
Once you're sure you are correctly weighted and oriented in a feet down / head up position, let the air out of your BCD gradually (not all at once). Press the deflator button gradually - You may not need to let absolutely all of the air out yet. When you start to sink, stop pressing the deflator button. On the way down, frequently look down to check beneath you to avoid touching the bottom and add air gradually with the inflator button as you descend.
Remember that you can kick gently to slow your descent if you realise that you need a bit of time to add more air, and remember that you can take a big breath in to slow yourself down.
If you're upright in the water and pressing the deflator button but no air seems to be coming out, stop and take a look at the deflator - Are there bubbles coming out? If not then adjust the position of the LPI making sure it's straight up and at the highest point.
Don't wait until you get to depth to add air. If you sink quickly and add all the air you need at depth you can risk descending too far, exceeding the depth of your dive plan, or rushing to add air when you reach the bottom and subsequently adding too much air. You may also risk touching the sensitive bottom or you could leave your buddy way behind if they're descending slower than you.
Descending with neutal buoyancy means that you go down slowly, giving you time to equalise your ears and check in on your buddy.
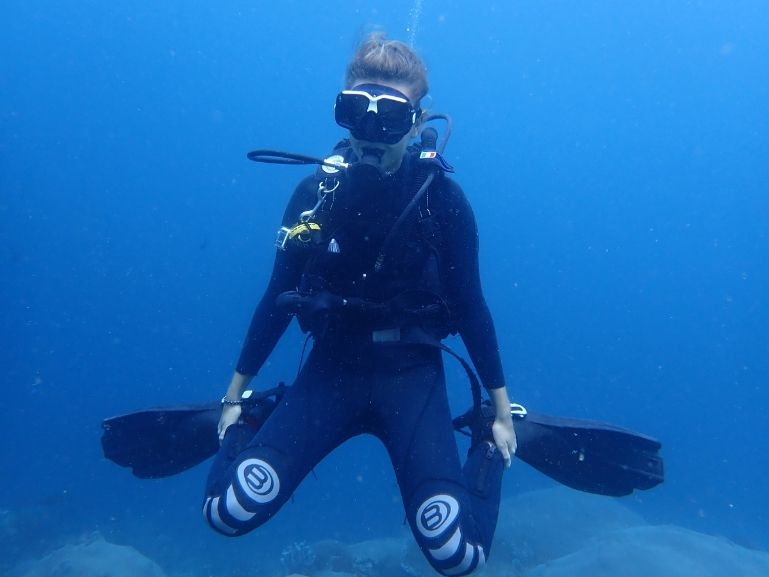
You learn to hover in your Open Water Diver course because this is what you want to aim for when you're underwater - Neutral buoyancy. Hovering motionless is a very useful skill - We use it ALL THE TIME! Just imagine you're swimming along the reef, you see a cool turtle and want to stay still to check in out - To do that, you hover.
Add small bursts of air to your BCD using your inflator to adjust your buoyancy. Don't add lots at once, you risk an uncontrolled ascent!
Add a bit, take a breath in and out and see how you feel. If you still feel too heavy (like you have to kick to stay up or that your lungs need to remain pretty full), then add a little more until you feel neutral. Keep your arms and legs as still as possible to avoid flapping.
Remember that your buoyancy changes with depth, so if you achieved neutral buoyancy at 12m and then swim deeper, you will need to add more air to remain neutrally buoyant.
Control your breathing... When hovering you still want to take full breaths, but take them slowly - imagine you're sipping the air in through a straw. Don't make your breathing super shallow or rapid, but on the opposite side, if you take very fast, full breaths then you will rise and fall - And that's another skill 😉
Hovering with neutral buoyancy means that you can observe awesome marine life without bumping into the reef or your buddy, AND it means that you achieve the number 2 rule in diving: Always look cool!

Once you are neutrally buoyant, you will rise and fall with your breathing. This is normal! Those of you who leanred to dive sometime before 2014 may know this as a "fin pivot", using the fins or the knees as a contact point on the bottom. These days we teach it from any position, the important thing is that you do it in a controlled manner. And let's face it, we do not intend to lie down with our fins on the bottom on a normal dive (!), so it makes sense to practice this skill mid-water.
Once you have gotten yourself into neutral buoyancy, if you take a big breath in, your lungs fill up and you will rise up a bit. If you take a big breath out, your lungs empty and you will sink (fall) a little.
Those of you who are taller or broader will find that something like a normal breath will achieve this "rise and fall", those of you who are shorter / more petite will find that you need to take a fuller breath than normal to achieve it. If you're tall / broad then don't take huge breaths - you may rise up further than you intended! For smaller / more petite people, fill your lungs to rise up and completely empty them to sink!
Remember that it takes a couple of seconds for your lung volume to actually make a difference to your buoyancy, be patient.
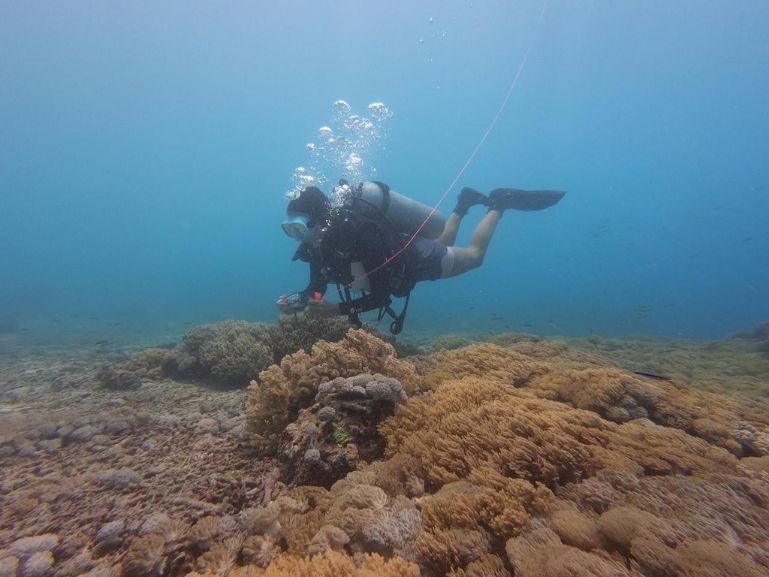
Take a big breath in to avoid touching the bottom or to swim over something sensitive on the bottom, like a coral. Take a big breath out to avoid bumping into something overhead (like your enthusiastic buddy!) or if you want to sink a little lower to get a closer look at something cool.

You will practice all of these skills and more in the Peak Performance Buoyancy course - It's a 1 day, 2 dive course designed to help you with neutral buoyancy. We will always give you guidance, if needed, during your fun dives with us and don't forget that if it's been a while (six months or more) since your last dive then we will include neutral buoyancy skills in a refresher for you.

